Fastlane
App을 빌드하고 앱스토어에 업로드하고 심사제출, 테스트빌드 업로드, 테스터 초대 등 번거롭고 오래 걸리는 작업들을 Fastlane을 통해서 자동화할 수 있습니다. Fastlane 설치부터 설정 배포까지 한번 알아보겠습니다.
fastlane 설치
Fastlane은 여러 가지 방법으로 설치할 수 있습니다. 가이드에서 추천하는 Bundler로 설치해보겠습니다
macOS의 시스템 Ruby를 사용할 수 있지만 종속성을 관리하기 어렵고 충돌을 일으킬 수 있으므로 권장하지 않습니다.
Bundler
Bundler와 Gemfile을 사용하여 패스트레인에 대한 의존성을 정의하는 것이 좋습니다. Fastlane 버전과 그 종속성을 명확하게 정의할수있고, 실행 속도도 높일 수 있습니다.
- 터미널에서
gem install bundler커맨드를 입력하여 Bundler를 설치 - 프로젝트 디렉토리에서
bundle init실행 후./Gemfile파일에 아래 내용을 입력
1
2
3
source "https://rubygems.org"

gem "fastlane"
bundle update를 실행하고./Gemfile,./Gemfile.lock파일을 버전관리에 추가- fastlane을 실행할때는
bundle exec fastlane [lane] - CI의 첫번째 빌드 단계로
bundle install를 사용하세요 - fastlane을 업데이트 하려면,
bundle update fastlane
fastlane 설정
프로젝트 디렉토리로 이동 후 초기설정 fastlane init
1
2
3
4
5
6
7
8
9
10
11
[10:01:12]: -----------------------------
[10:01:12]: --- Welcome to fastlane 🚀 ---
[10:01:12]: -----------------------------
[10:01:12]: fastlane can help you with all kinds of automation for your mobile app
[10:01:12]: We recommend automating one task first, and then gradually automating more over time
[10:01:12]: What would you like to use fastlane for?
1. 📸 Automate screenshots
2. 👩✈️ Automate beta distribution to TestFlight
3. 🚀 Automate App Store distribution
4. 🛠 Manual setup - manually setup your project to automate your tasks
?
사용 목적을 선택하면 되는데 앱 배포를 위해서는 3번을 선택하면 됩니다.
초기 세팅을 위한것으로 나중에 설정을 통해서 필요한것을 추가할 수 있습니다.
1
2
3
4
5
6
7
8
9
10
11
12
13
14
15
16
17
[10:07:02]: --------------------------------
[10:07:02]: --- Login with your Apple ID ---
[10:07:02]: --------------------------------
[10:07:02]: To use App Store Connect and Apple Developer Portal features as part of fastlane,
[10:07:02]: we will ask you for your Apple ID username and password
[10:07:02]: This is necessary for certain fastlane features, for example:
[10:07:02]:
[10:07:02]: - Create and manage your provisioning profiles on the Developer Portal
[10:07:02]: - Upload and manage TestFlight and App Store builds on App Store Connect
[10:07:02]: - Manage your App Store Connect app metadata and screenshots
[10:07:02]:
[10:07:02]: Your Apple ID credentials will only be stored in your Keychain, on your local machine
[10:07:02]: For more information, check out
[10:07:02]: 	https://github.com/fastlane/fastlane/tree/master/credentials_manager
[10:07:02]:
[10:07:02]: Please enter your Apple ID developer credentials
[10:07:02]: Apple ID Username:
로그인을 위해 애플 계정과 비밀번호, 이중인증 번호까지 입력!
1
2
3
4
5
6
7
8
Multiple App Store Connect teams found, please enter the number of the team you want to use:
1) "AAA" (1234)
2) "BBB" (5678)
2
Multiple teams found on the Developer Portal, please enter the number of the team you want to use:
1) 123ASD "AAA" (Company/Organization)
2) ASD123 "BBB" (Company/Organization)
2
만약 소속되어 있는 팀이 여러개라면 위와같이 팀 선택 화면이 뜬다. 원하는것 선택~
이렇게 하면 fastlane 기본 설정이 완료됩니다.
프로젝트 디렉토리를 확인해보면 아래와 같은 폴더,파일들이 생성되어있습니다.
1
2
3
4
5
6
7
8
fastlane
	metadata    -> 앱스토어 메타데이터 정보들이 담긴 폴더
	screenshots -> 앱스토어 스크린샷이 담긴 폴더
	Appfile     -> 번들ID, 애플ID, 팀ID 등의 정보가 담긴 파일
	Deliverfile -> 앱스토어 메타데이터 저장을 위한 파일
	Fastfile    -> 자동화할 명령어들이 담긴 파일
Gemfile
Gemfile.lock
처음 fastlane 초기화시 메타데이터를 받아오지만 수동으로 받아오기 위해서는 아래 명령어를 입력
앱스토어 스크린샷 다운로드: fastlane deliver download_screenshots
앱스토어 메타데이터 다운로드: fastlane deliver download_metadata
Testflight 배포
Fastfile을 수정해 Testflight에 업로드 해보겠습니다
1
2
3
4
5
6
7
8
9
10
desc "Push a new beta build to TestFlight"
  lane :beta do
    increment_build_number(xcodeproj: "Greencar.xcodeproj")
    build_app(workspace: "Greencar.xcworkspace", scheme: "Greencar")
    upload_to_testflight
    slack(
      message: "Testflight 배포 완료",
      slack_url: "슬랙 URL"
    )
  end
- increment_build_number: 자동으로 빌드넘버를 증가시킵니다.
- build_app: 앱을 빌드합니다. 빌드할 워크스페이스, 스키마를 지정해줍니다
- upload_to_testflight: Testflight에 업로드합니다
- slack: 업로드가 완료되면 Slack채널에 배포완료 메시지를 전송합니다
파일을 저장하고 fastlane beta 명령어로 배포작업을 실행합니다.
자동으로 빌드를 진행하고 Testflight에 배포가 되어야하는데 에러메시지가 뜨네요..
1
2
3
4
5
6
7
8
9
10
11
12
13
14
15
16
17
[11:03:26]: Transporter transfer failed.
[11:03:26]:
[11:03:26]: Please sign in with an app-specific password. You can create one at appleid.apple.com. (-22910)
[11:03:26]:
[11:03:26]: Your account has 2 step verification enabled
[11:03:26]: Please go to https://appleid.apple.com/account/manage
[11:03:26]: and generate an application specific password for
[11:03:26]: the iTunes Transporter, which is used to upload builds
[11:03:26]:
[11:03:26]: To set the application specific password on a CI machine using
[11:03:26]: an environment variable, you can set the
[11:03:26]: FASTLANE_APPLE_APPLICATION_SPECIFIC_PASSWORD variable
-------------------------------------------------------------------------------------
Please provide your Apple Developer Program account credentials
The login information you enter will be stored in your macOS Keychain
-------------------------------------------------------------------------------------
Password (application-specific for (ID)):
app-specific password가 필요하다고 나오네요. 앱 암호를 설정하려면
https://appleid.apple.com/account/manage → 로그인 및 보안 → 앱 암호
앱암호 생성후 업로드가 완료될때까지 기다려줍니다.
기다리는게 싫다면 skip_waiting_for_build_processing 옵션을 추가해주면 됩니다.
1
2
3
4
5
6
7
8
9
10
11
12
13
14
15
16
17
18
19
20
21
22
[12:57:57]: Successfully finished processing the build 8.2.1 - 101 for IOS
[12:57:57]: Using App Store Connect's default for notifying external testers (which is true) - set `notify_external_testers` for full control
[12:57:57]: Distributing new build to testers: 8.2.1 - 101
[12:57:57]: Successfully distributed build to Internal testers 🚀
[12:57:57]: -------------------
[12:57:57]: --- Step: slack ---
[12:57:57]: -------------------
[12:57:58]: Successfully sent Slack notification

+------+------------------------+-------------+
|              fastlane summary               |
+------+------------------------+-------------+
| Step | Action                 | Time (in s) |
+------+------------------------+-------------+
| 1    | default_platform       | 0           |
| 2    | increment_build_number | 1           |
| 3    | build_app              | 463         |
| 4    | upload_to_testflight   | 1892        |
| 5    | slack                  | 1           |
+------+------------------------+-------------+

[12:57:58]: fastlane.tools just saved you 40 minutes! 🎉
업로드가 완료되면 위와같이 스텝별 소요시간과 총 소요시간이 출력됩니다. 저느 총 40분이 걸렸네요..
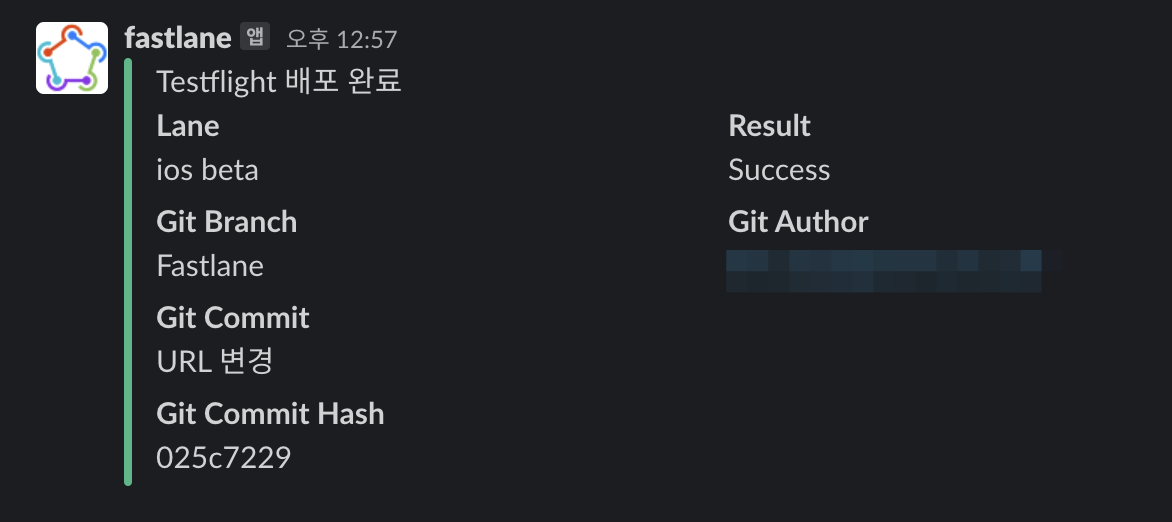
슬랙에도 알림전송이 성공했다고 나오니 슬랙에 들어가서 배포완료 메시지가 왔는지 확인해 봅시다.
App Store Connect에도 빌드가 정상적으로 업로드 완료되었습니다!

App Store 배포
Fastfile을 수정해 Testflight에 업로드 해보겠습니다
1
2
3
4
5
6
7
8
9
10
11
12
13
14
15
16
desc "Push a new release build to the App Store"
  lane :release do
    increment_build_number(xcodeproj: "Greencar.xcodeproj")
    build_app(workspace: "Greencar.xcworkspace", scheme: "Greencar")
    upload_to_app_store(
      force: true,
      skip_screenshots: true,
			skip_metadata: false,
      submit_for_review: true,
      automatic_release: false,
    )
    slack(
      message: "App Store 배포 완료",
      slack_url: "슬랙 URL"
    )
  end
- increment_build_number: 자동으로 빌드넘버를 증가시킵니다.
- build_app: 앱을 빌드합니다. 빌드할 워크스페이스, 스키마를 지정해줍니다
- upload_to_app_store: 앱스토어에 업로드합니다.
- force: HTML report를 스킵합니다.
- skip_screenshots: 스크린샷 업로드를 스킵합니다. 기존에 앱스토어에 올라가있는 스크린샷을 사용하기 때문에 true로 설정합니다.
- skip_metadata: 앱스토어 메타데이터를 스킵합니다. 새로운 버전에대한 정보를 업데이트 하기 위해서 false로 설정합니다. (/fastlane/metadata 폴더에서 정보 수정)
- submit_for_review: 업로드가 완료되면 자동으로 심사까지 제출합니다.
- automatic_release: 심사가 완료되면 자동으로 배포할지 수동으로 배포할지 선택합니다.
- slack: 업로드가 완료되면 Slack채널에 배포완료 메시지를 전송합니다
자세한 메타데이터는 링크를 확인하세요 https://docs.fastlane.tools/actions/upload_to_app_store/
파일을 저장하고 fastlane release 명령어로 배포작업을 실행합니다.
1
2
3
4
5
6
7
8
9
10
11
12
13
[14:46:42]: Use of Advertising Identifier (IDFA) is required to submit
Add information to the :submission_information option...
  Docs: http://docs.fastlane.tools/actions/deliver/#compliance-and-idfa-settings
  Example: submission_information: { add_id_info_uses_idfa: false }
  Example: submission_information: {
    add_id_info_uses_idfa: true,
    add_id_info_serves_ads: false,
    add_id_info_tracks_install: true,
    add_id_info_tracks_action: true,
    add_id_info_limits_tracking: true
  }
  Example CLI:
    --submission_information "{\"add_id_info_uses_idfa\": false}"
빌드가 완료되고 앱스토어에 업로드 하는 과정에서 오류가 발생했습니다..
앱에서 IDFA를 사용하고 있었기 때문에 추가적인 정보를 추가해줘야 합니다
1
2
3
4
5
6
7
8
9
 upload_to_app_store(
			...
      submission_information: {
        add_id_info_serves_ads: false,
        add_id_info_tracks_action: true,
        add_id_info_tracks_install: true,
        add_id_info_uses_idfa: true
      }
    )
- submission_information: 광고식별자(IDFA), 암호화, 콘텐츠 권한을 설정합니다
- add_id_info_serves_ads: 광고 제공 여부
- add_id_info_tracks_action: 특정 행위 추적
- add_id_info_tracks_install: 설치 추적
- add_id_info_uses_idfa: IDFA 사용 여부
Fastfile을 수정하고 다시 배포를 진행합니다
1
2
3
4
5
6
7
8
9
10
11
12
13
14
15
16
17
18
19
20
21
22
23
24
[16:37:31]: Successfully finished processing the build 8.2.1 - 104 for IOS
[16:37:31]: Selecting build 8.2.1 (104)...
[16:37:32]: Successfully selected build
[16:37:34]: Successfully updated IDFA declarations on App Store Connect
[16:37:36]: Successfully submitted the app for review!
[16:37:36]: -------------------
[16:37:36]: --- Step: slack ---
[16:37:36]: -------------------
[16:37:37]: Successfully sent Slack notification

+------+------------------------+-------------+
|              fastlane summary               |
+------+------------------------+-------------+
| Step | Action                 | Time (in s) |
+------+------------------------+-------------+
| 1    | default_platform       | 0           |
| 2    | increment_build_number | 1           |
| 3    | build_app              | 492         |
| 4    | upload_to_app_store    | 1465        |
| 5    | slack                  | 0           |
+------+------------------------+-------------+

[16:37:37]: fastlane.tools just saved you 33 minutes! 🎉
seong-gyeongmo-iMac:ios-greencar front-artist$
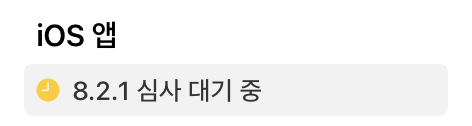
업로드가 완료되고 자동으로 심사제출까지 완료되었습니다!
Firebase App Distribution 배포
Firebase에 앱을 배포하기 위해서는 플러그인을 추가해줘야 합니다.
fastlane add_plugin firebase_app_distribution
그 후 Firebase 인증이 필요한데 인증방법은 3가지입니다.
- 플러그인의 로그인 작업을 통해 Google 계정에 로그인
- Firebase 서비스 계정 사용자 인증 정보 사용
- Firebase CLI를 사용하여 로그인
저는 간단한 1번 방법을 사용하겠습니다. 우선 로그인을 위해 명령어를 입력해줍니다.
fastlane run firebase_app_distribution_login
1
2
3
4
5
6
7
[14:30:00]: ---------------------------------------------
[14:30:00]: --- Step: firebase_app_distribution_login ---
[14:30:00]: ---------------------------------------------
[14:30:00]: Open the following address in your browser and sign in with your Google account:
[14:30:00]: https://accounts.google.com/o/oauth2/auth?access_type=offline&approval_prompt=force&client_id=563584335869-fgrhgmd47bqnekij5i8b5pr03ho849e6.apps.googleusercontent.com&include_granted_scopes=true&redirect_uri=urn:ietf:wg:oauth:2.0:oob&response_type=code&scope=https://www.googleapis.com/auth/cloud-platform
[14:30:00]:
[14:30:00]: Enter the resulting code here:
터미널을 확인해보면 맨 하단에 링크가 하나 출력됩니다. 저 링크를 열어준 후 구글계정 로그인을 하고 권한을 허용해주면 코드가 발급됩니다. 그 코드를 다시 터미널에 입력해줍니다.
코드를 입력하면 Refresh Token이 발급됩니다. 발급받은 토큰은 Fastfile firebase_cli_token 에 넣어줍니다. 정리하면
링크이동 → 로그인 → 코드발급 → 터미널에 코드입력 → 토큰발급 → Fastfile에 토큰입력
이제 Fastfile을 수정해 Firebase App Distribution에 업로드 해보겠습니다
1
2
3
4
5
6
7
8
9
10
11
12
13
14
desc "Push a new beta build to Firebase App Distribution"
  lane :firebase do
    build_app(workspace: "Greencar.xcworkspace", scheme: "Greencar")
    firebase_app_distribution(
				firebase_cli_token: "발급받은 Refresh Token",
        release_notes: "배포자동화 테스트",
        testers: "email",
        groups: "app_ios"
    )
    slack(
      message: "Firebase App Distribution 배포 완료",
      slack_url: "슬랙 URL"
    )
  end
- build_app: 앱을 빌드합니다. 빌드할 워크스페이스, 스키마를 지정해줍니다
- firebase_app_distribution: Firebase 업로드합니다.
- release_notes: 출시 노트를 입력합니다.
- testers: 초대할 테스터 이메일을 입력합니다
- groups: 초대할 테스터 그룹을 입력합니다.
- slack: 업로드가 완료되면 Slack채널에 배포완료 메시지를 전송합니다
파일을 저장하고 fastlane firebase 명령어로 배포작업을 실행합니다.
1
2
3
4
5
6
7
8
9
10
11
12
13
14
15
16
17
18
19
20
21
22
23
24
25
26
27
28
29
30
[15:22:44]: Successfully exported and compressed dSYM file
[15:22:44]: Successfully exported and signed the ipa file:
[15:22:44]: /Users/front-artist/Desktop/Data/Git/greencar-ios/ios-greencar/Greencar.ipa
[15:22:44]: ---------------------------------------
[15:22:44]: --- Step: firebase_app_distribution ---
[15:22:44]: ---------------------------------------
[15:22:44]: Authenticating with --firebase_cli_token parameter
[15:22:45]: 🔐 Authenticated successfully.
[15:22:45]: ⌛ Uploading the IPA.
[15:26:44]: ✅ Uploaded IPA successfully and created release 8.2.1 (104).
[15:26:45]: ✅ Posted release notes.
[15:26:47]: ✅ Added testers/groups.
[15:26:47]: 🎉 App Distribution upload finished successfully.
[15:26:47]: -------------------
[15:26:47]: --- Step: slack ---
[15:26:47]: -------------------
[15:26:48]: Successfully sent Slack notification

+------+---------------------------+-------------+
|                fastlane summary                |
+------+---------------------------+-------------+
| Step | Action                    | Time (in s) |
+------+---------------------------+-------------+
| 1    | default_platform          | 0           |
| 2    | build_app                 | 479         |
| 3    | firebase_app_distribution | 242         |
| 4    | slack                     | 0           |
+------+---------------------------+-------------+

[15:26:48]: fastlane.tools just saved you 12 minutes! 🎉
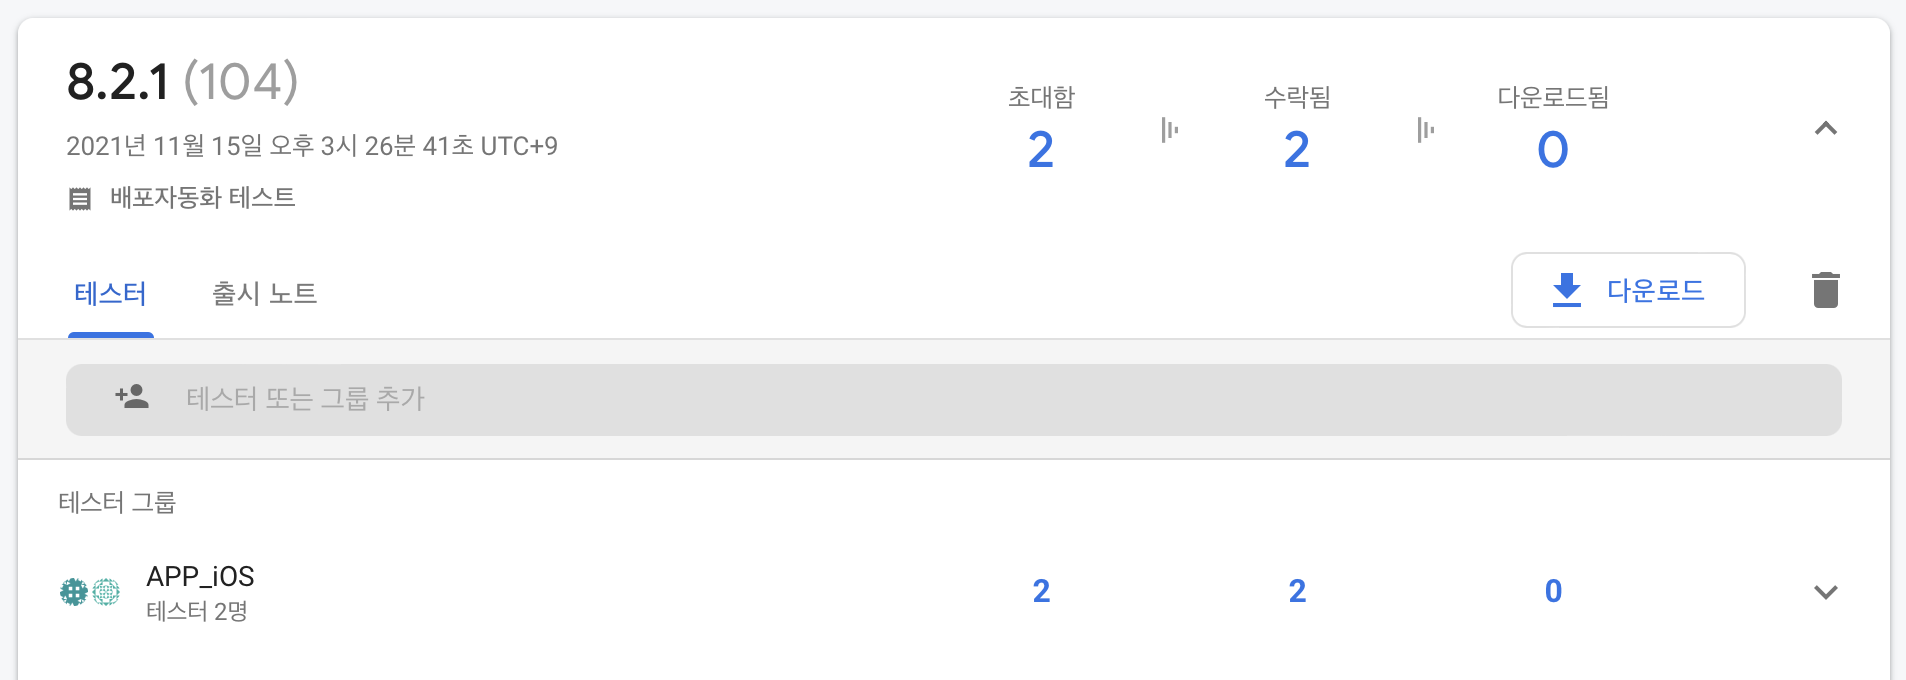
배포가 완료된 후 Firebase App Distribution을 확인해보니 정상적으로 빌드가 업로드 되어있습니다.
Reference
fastlane - App automation done right